skip to main |
skip to sidebar
Showing posts with label
Finial Press Embossing Folder.
Show all posts
Showing posts with label
Finial Press Embossing Folder.
Show all posts
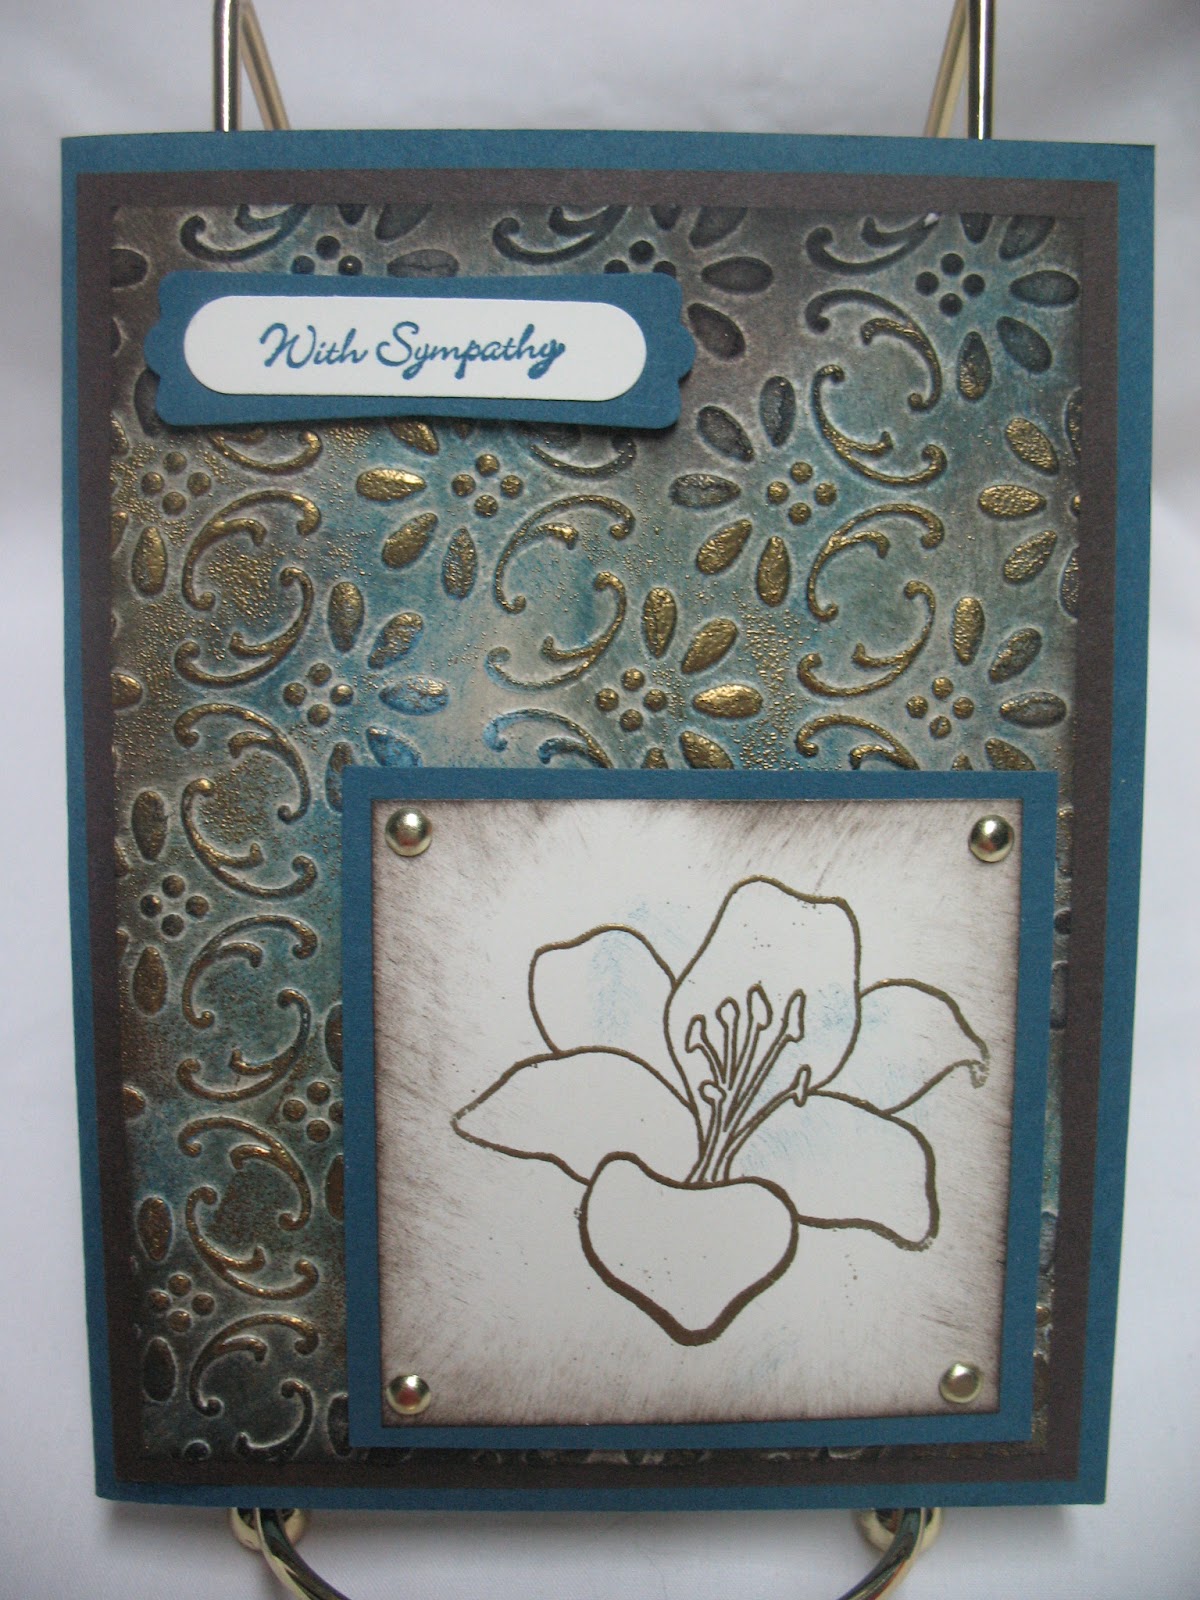
I can't believe I have never done this technique before! It is called Faux Patina and the tutorial by Angie Leach can be found here on Splitcoaststampers. It is very, very easy and you probably have the supplies on hand!
Basically it involves lots of sponging and a little gold embossing. I used Crumb Cake as my base, then added some Not Quite Navy, Always Artichoke and Early Espresso. The last step is to lightly ink with Versamark™ and emboss with gold embossing powder. You must have a light touch or the gold will cover up the sponged on color. I am hoping to experiment with some different color combinations, maybe something with Cherry Cobbler!
 Here is another card using the double embossing technique. This time I used some Real Red DSP from the Brights paper pack and embossed it with Black embossing powder. The flowers were embossed using Real Red craft ink and Clear embossing powder, the leaves were embossed with Wild Wasabi embossing powder.
Anyone else glad the heat wave has lessened? We actually got some rain yesterday and again today, too late for my garden to recover but still nice.

 The first stamp set I bought from Stampin' Up!™ was a flower set. (And I still have it.) I had never rubber stamped before and I had absolutely NO card making supplies. I used my kids' Crayola markers to color the stamps and I used construction paper (gasp!). Now I have many flower sets including this one called Fabulous Florets from Stampin' Up! and "real" markers and stamp pads and punches and... As they say, "You've come a long way baby!"
I used Rich Razzleberry and Regal Rose classic ink for the flowers. The Designer Series Paper is Old Olive from the Brights paper stack. The strip of Rich Razzleberry was embossed with the Finial Press embossing folder. The eyelet border was made with the Eyelet Border punch.
Here is a tip to make sure your solid image rubber stamps give a clean image. When you first get your stamps lightly sand them with a sanding block and clean them well. This will take off the chemical agent used on rubber stamps so they release from the molds.

 I love to heat emboss! It's like magic. You know you ink your stamp with this clear sticky magic potion (aka Versamark™ ink), sprinkle a little pixie dust (embossing powder) aim your magic wand (heat tool) and *poof!* the magic happens.
The flowers and leaves are stamps from the new Stampin' Up!™ set called Fabulous Florets found in the Summer Mini Catalog, embossed with Melon Mambo and Wild Wasabi embossing powder. The Whisper White panel was embossed with Stampin' Up! Finial Press embossing folder.
Now it's your turn, whip out that heat tool and magic pixie dust and make something magical!
 I love the new color Daffodil.Delight! It is the best yellow. I love the color yellow because it makes me want to smile. However, the old YoYo Yellow was too bright or harsh. But as Goldilocks would say Daffodil Delight is just right!
The stamp is from the Just Believe stamp set. I used Old Olive, Always Artichoke, Pumpkin Pie, and Summer Sun ( I haven't ordered my new color markers yet!) Stampin' Write™ markers to ink the stamp. The card base was embossed with the Finial Press embossing folder. That little strip of Pumpkin Pie was made with my new favorite punch, the Dotted Scallop Ribbon Border Punch. I added a couple of the Basic Pearls and sponged some Daffodil Delight around the main image.
 I can't seem to upload this photo oriented the correct way so just tilt your head to the right LOL!
 Look! I made a square card! I saw some similar cards on someone's blog but as usual I can't remember whose! So if it was yours post me a pleasant reminder and I will give you credit.
I used some retiring paper from a Hostess DSP pack and a couple of retiring colors to make these. It is hard to see in the photos (I should have taken a close-up) but the lattice and the layers under it are all embossed with the Finial Press EF. The white piece was cut with the Scallop Square Big Shot die. I left the sentiment off until I need them.
Paper: Mellow Moss, Really Rust, Whisper White, Not Quite Navy, Crushed Curry

 Don't you just love these colors together? Soft Suede and Bermuda Bay! The main panel was made by embossing a piece of Whisper White with the Big Shot and the Finial Press embossing folder and then brayering Bermuda Bay ink on the debossed side. I then sprayed the panel with some Shimmer Mist (made with rubbing alcohol and Shimmer Paint). The flower is a stamp from the Vintage Vogue stamp set. I stamped it with Versamark and heat embossed it with Iridescent Ice. The center of the flower is a Pop-Up glue dot covered with SU Champagne glitter. Off to Kohl's for some last minute shopping for my DD and prom!


I love the look of this card and it was so easy to assemble. To make the front all you do is fold the front of the card in half. Just don't forget to only put adhesive on half of the front panel (From the AMHIK dept.). I used my Finial Press impressions folder for the inside panel and a piece of that lovely embossed paper from the Christmas Cocoa DSP (last chance to order is Jan. 4!). The ornament is from the stamp set Tree Trimmings (great little stamp set!).
I have most of my Christmas decorations in place with the exception of my tree and outside lights. I have a small upstairs and a big tree so everything gets moved around and the tree goes in the middle of the dining room; needless to say it takes a lot of furniture moving.
My santa collection has a new home on a bookshelf in the basement because when we bought our new TV we had to get a new stand instead of our entertainment center. Oh well I do love my new TV and it is MY santa collection and I do spend most of my time in the basement.
So how's your decorating coming? Christmas cards in the mail????? Christmas is coming!!!!!!

 My new favorite thing is . . . . shimmer paint! Look what a little Champagne Frost shimmer paint can do for plain, old chipboard! The shimmer paints are in the Holiday Mini Catalog and come in three flavors: Champagne Frost, Frost White, Platinum. The Champagne Frost and Frost White are translucent and the Platinum is opaque. The Champagne & White can be used as a wash over your projects whereas the Platinum will cover completely. The snowflake on this card is chipboard that I painted with the Champagne Frost using a cheap dollar store paint brush. It dries very quickly and a little paint goes a long way. The embossed piece was embossed using the Finial Press Embossing folder and then I added a little Champagne Frost shimmer paint using a sponge dauber. The card base is Sahara Sand. I can't emphasize enough how easy and how fast the shimmer paint goes on chipboard. You can also mix it with reinkers and either paint with it or daub it on a stamp and stamp. Another cool technique is to ink your stamp with classic ink and then daub on some shimmer paint and then stamp. For those of you who don't like to get glitter everywhere this is an easy way to get a little shimmer!!